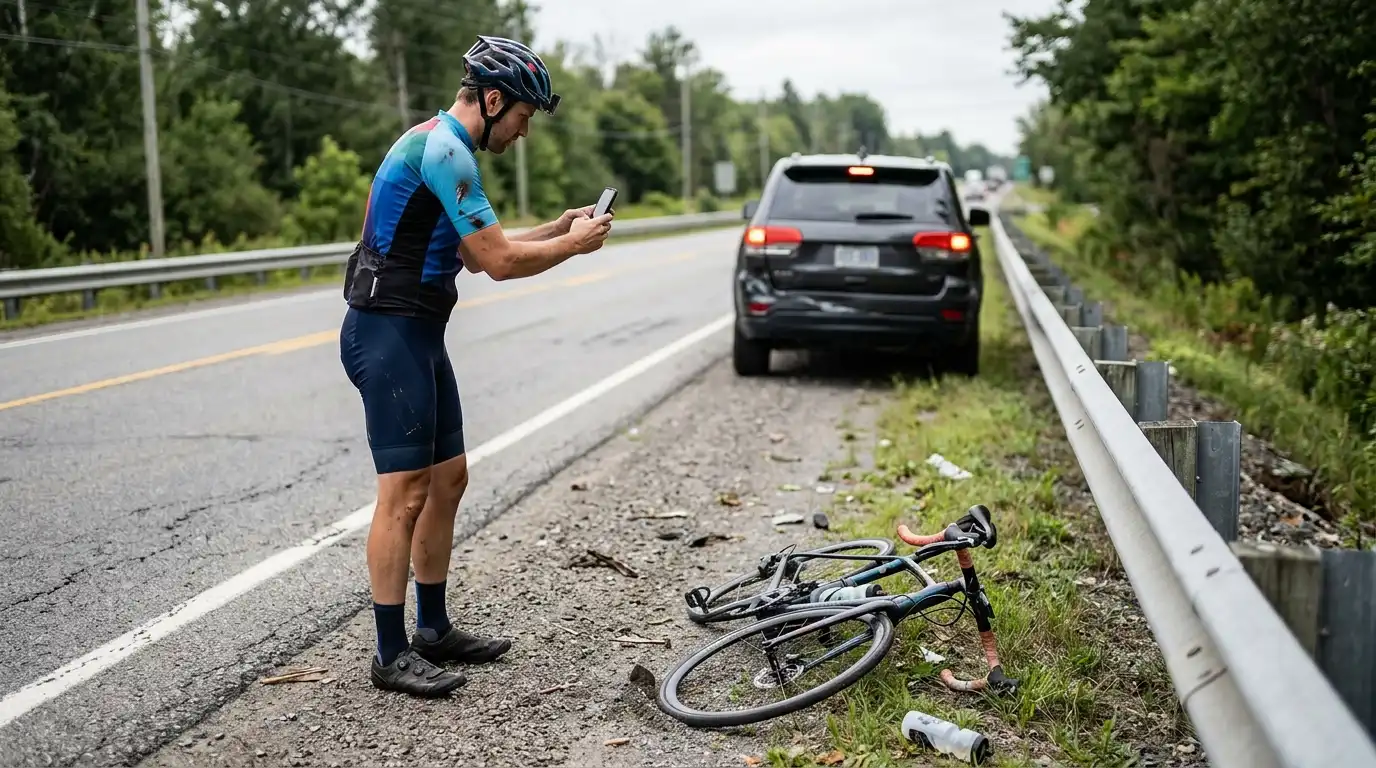
A sudden collision with a motor vehicle or a road hazard is one of the most jarring experiences a cyclist can face. In the immediate aftermath of a bicycle crash, adrenaline surges through your body, masking pain and clouding your decision-making. However, the critical choices you make in those first few minutes on the roadside will heavily influence your health recovery, insurance claims, and legal rights.
Knowing exactly what to do after a bicycle accident before you head out on your ride ensures that you stay calm, preserve essential physical evidence, and avoid costly legal missteps. Use this comprehensive step-by-step roadside checklist to protect yourself, your physical well-being, and your claim.
Step 1: Move to Safety and Seek Emergency Medical Care
Your primary objective immediately following a crash is personal physical safety. If you are in active traffic or in a high-risk lane, move yourself and your bike to a safe shoulder, sidewalk, or grassy area off the roadway if you are physically able to do so.
However, if you suspect a head, neck, back, or spinal injury, do not attempt to move. Instruct bystanders or the driver to direct traffic around you while you wait for emergency medical technicians (EMTs) to arrive.
Even if you feel only minor scrapes or bruises, call 911 immediately. Adrenaline frequently masks severe soft-tissue trauma, internal bleeding, or mild traumatic brain injuries (TBIs). Having medical personnel evaluate you on-scene establishes an immediate, objective timeline connecting your physical injuries directly to the collision.
Step 2: Always Wait for Law Enforcement to Arrive

One of the most common mistakes injured cyclists make is accepting a quick verbal handshake or cash offer from a driver and leaving the scene without contacting the police. Drivers who initially seem cooperative may later deny involvement, claim you caused the accident, or provide fake insurance information.
When the police officer arrives on scene, ensure they file an official accident report. To understand statutory guidelines regarding crash reports and state-level traffic safety enforcement standards, review resources from the National Highway Traffic Safety Administration.
Follow these essential tips when speaking with responding law enforcement:
- Provide Your Detailed Statement: Ensure the investigating officer speaks directly with you and records your version of events into the written crash report, rather than relying solely on the driver’s narrative.
- Stick Strictly to the Facts: Describe exact details—such as your direction of travel, speed, traffic signals, and weather conditions—without guessing or speculating.
- Request the Incident Report Number: Get the officer’s name, badge number, and official incident tracking report number so your legal team can obtain a copy later.
Step 3: Exchange Information and Gather Eyewitness Details
While waiting for law enforcement and medical personnel, begin gathering accurate identifying details from all involved parties. Remain calm, courteous, and concise throughout this process.
Collect the following mandatory information from the driver:
- Full legal name, physical home address, and primary phone number
- Driver’s license number and state of issuance
- Auto insurance company name, policy number, and agent contact details
- Vehicle make, model, year, color, and license plate number
In addition, identify neutral third-party witnesses—such as pedestrians, shop owners, or other motorists—who saw the collision happen. Politely ask for their full names, telephone numbers, and email addresses. Neutral witness testimony is often the decisive factor when resolving disputed liability claims with insurance companies.
Step 4: Document the Scene thoroughly with Photos and Video
In today’s digital era, your smartphone is your strongest evidence-gathering tool on the crash scene. Physical evidence gets cleaned up, skid marks fade, and vehicles drive away shortly after the scene is cleared.
Take clear, high-resolution photographs and wide-angle videos covering:
Vehicle and Bicycle Visuals
Photograph the car’s damage, tire positions, and exact license plate. Document all damage to your bicycle frame, broken components, sheared gears, torn handlebar tape, and ripped cycling apparel.
Road Conditions and Environmental Factors
Capture wide photos of the entire intersection, road layout, lane markings, traffic signals, stop signs, sightline obstructions (such as overgrown trees or parked commercial vehicles), and weather conditions.
Physical Injuries
Take close-up photos of visible injuries, including road rash, lacerations, severe bruising, torn skin, and damaged helmet shell structures.
Step 5: Preserve Physical Evidence and Ride Data

Once you return home or leave the medical facility, treat all your gear as vital legal evidence. Do not attempt to repair your bicycle, clean your jersey, or discard broken equipment.
Follow these crucial preservation steps:
- Keep Your Damaged Gear As-Is: Store your torn clothing, damaged shoes, cracked helmet, and broken bike in a dry, secure space. Do not wash or alter anything.
- Download GPS and Cycling Computer Data: If you use a GPS unit, smart sports watch, or cycling app (such as Strava or Garmin), export and save the raw ride files immediately. Speed, precise location, altitude, braking patterns, and impact telemetry can provide objective proof of your trajectory prior to impact.
- Inspect Safety Standards Compliance: For authoritative technical standards regarding bicycle helmet structural integrity and equipment safety mandates, reference the guidelines maintained by the U.S. Consumer Product Safety Commission.
Step 6: Avoid Common Post-Crash Legal Pitfalls
What you say and do immediately following an accident can be weaponized by insurance claims adjusters to diminish or deny your valid financial settlement.
Protect your legal standing by strictly avoiding these common mistakes:
- Never Say “I’m Sorry” or “I’m Fine”: Saying “I’m sorry” on-scene can be misinterpreted as an admission of fault. Expressing “I’m fine” before a complete clinical examination can be used by adjusters to claim your physical injuries were pre-existing or unrelated to the collision.
- Refuse On-Scene Settlement Offers: Never accept cash or sign liability waivers offered by a driver at the scene. You cannot know the true financial cost of your bike damage or future medical care immediately following a crash.
- Do Not Give Recorded Statements to Insurance Adjusters: The driver’s insurance carrier may call you within hours of the incident requesting a recorded statement. Politely decline to speak with them until you have consulted with an experienced bicycle accident attorney.
Final Thoughts
Knowing what steps to take at the scene of a bicycle accident helps protect your physical health, your legal rights, and your financial recovery. By staying calm, securing an official police report, collecting photographic evidence, and seeking prompt medical attention, you lay a solid foundation for your recovery process.